")
A Behind-the-Walls Look at Modern Gips Installation
When people think about walls or ceilings, they usually picture the end result: clean surfaces, fresh paint, maybe a mounted TV or recessed lighting. But behind that polished finish is a process that makes it all possible – and gips installation is one of the most critical stages in modern interior construction.
Many clients assume gips is just “plaster on walls,” but it’s a multilayered system involving insulation, framing, and joint sealing that directly affects comfort, acoustics, and energy efficiency. Understanding the process helps you budget more realistically and plan your renovation with fewer surprises.
At Andronor, we specialize in delivering clean, precise, and professional gips wall and ceiling systems for both private homes and commercial interiors across the Oslo region and surrounding municipalities. This guide gives you a step-by-step overview of the process, so you know exactly what’s going on behind your walls.
Why Choose Gips (Plasterboard)?
Gips is Norway’s trusted standard for interior construction – and for good reason:
- Fast to install and modify
- Fire-resistant and eco-friendly
- Excellent for acoustic and thermal insulation
- Pairs perfectly with suspended ceilings, hidden lighting, and feature walls
We use moisture-resistant, fire-rated, and reinforced gips boards depending on your space and its needs. In Oslo’s older buildings, gips helps correct uneven surfaces. In modern offices, it hides HVAC and creates space for integrated lighting.
Step-by-Step: What Happens During Gips Installation?
Step 1: Site Survey & Custom Quote
We begin with a project consultation – either on-site or through our Estimator Tool. Here’s what we do:
- Measure the area in m²
- Assess wall types, ceiling height, and structural elements
- Discuss specific needs: soundproofing, fire safety, materials included
- Identify complexity levels or custom features (e.g., reinforcement for TV mounts)
If using our estimator, you’ll be asked about room function and complexity – this helps generate a highly tailored estimate.
We also factor in irregular angles, ceiling heights above 2.7m, and material preferences. You receive a realistic, no-guesswork quote.
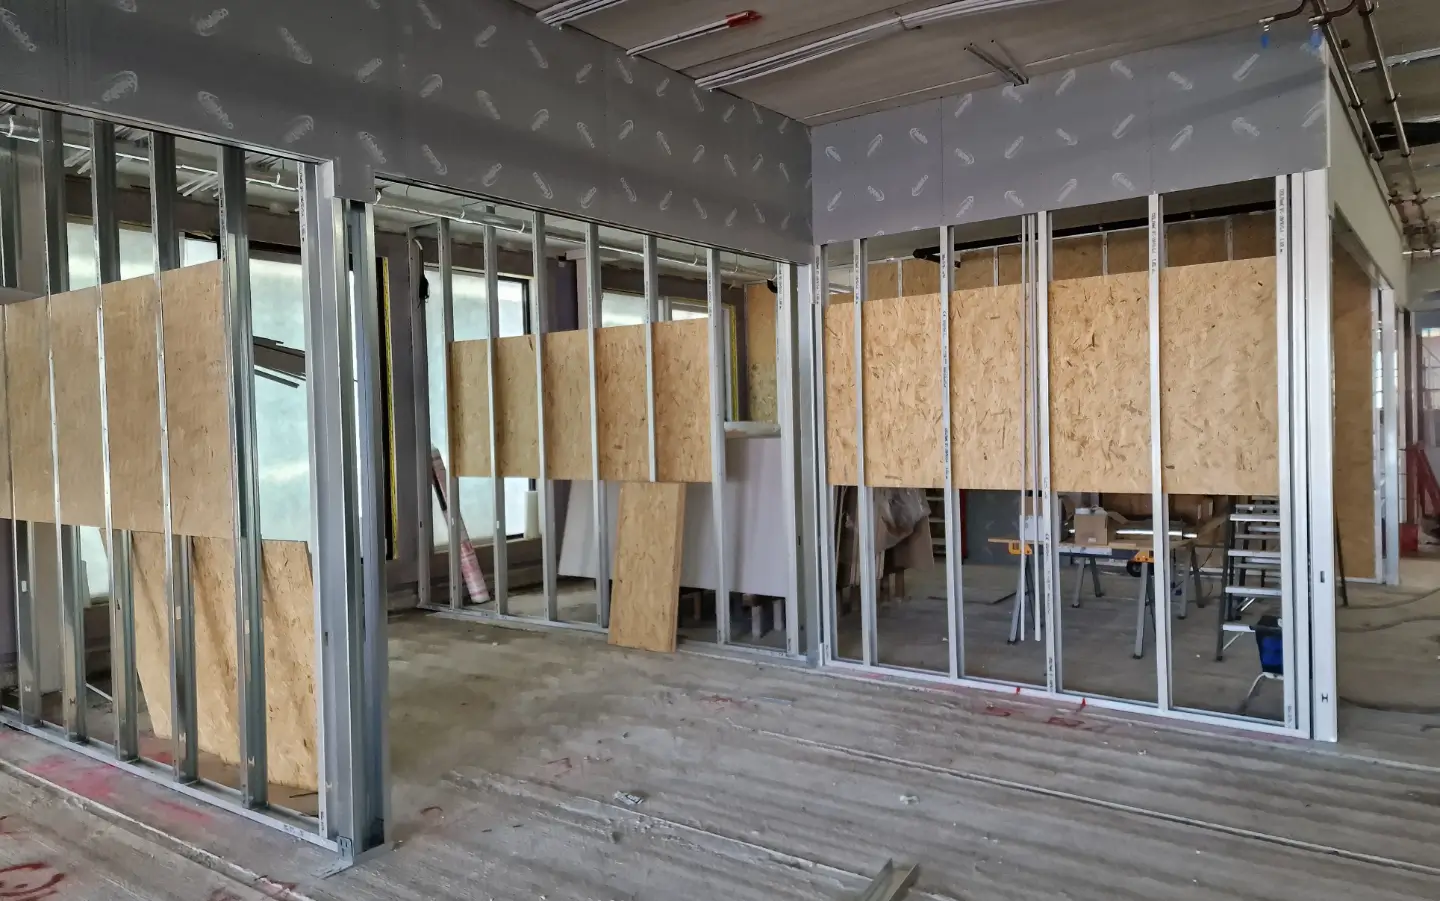
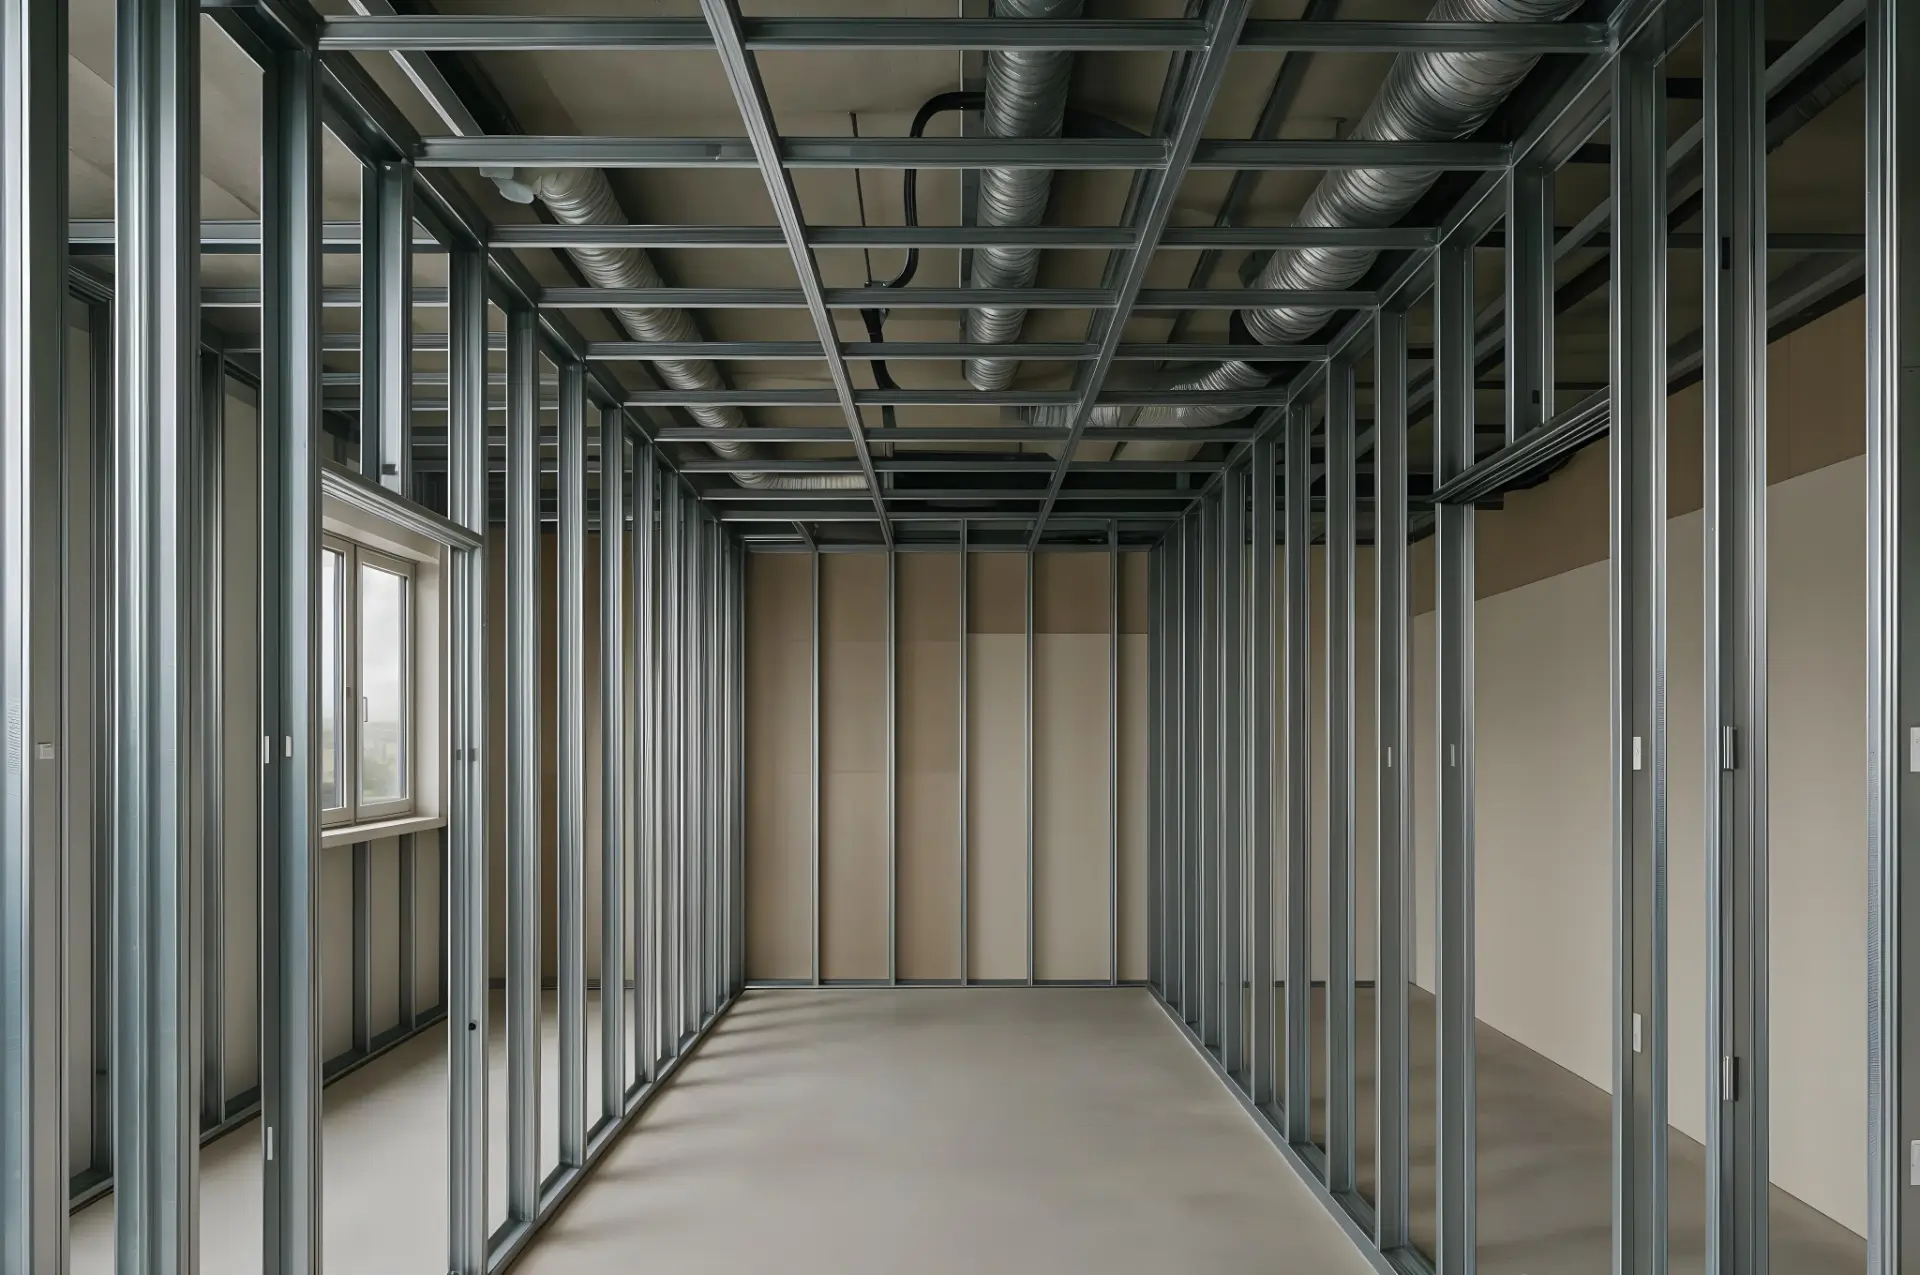
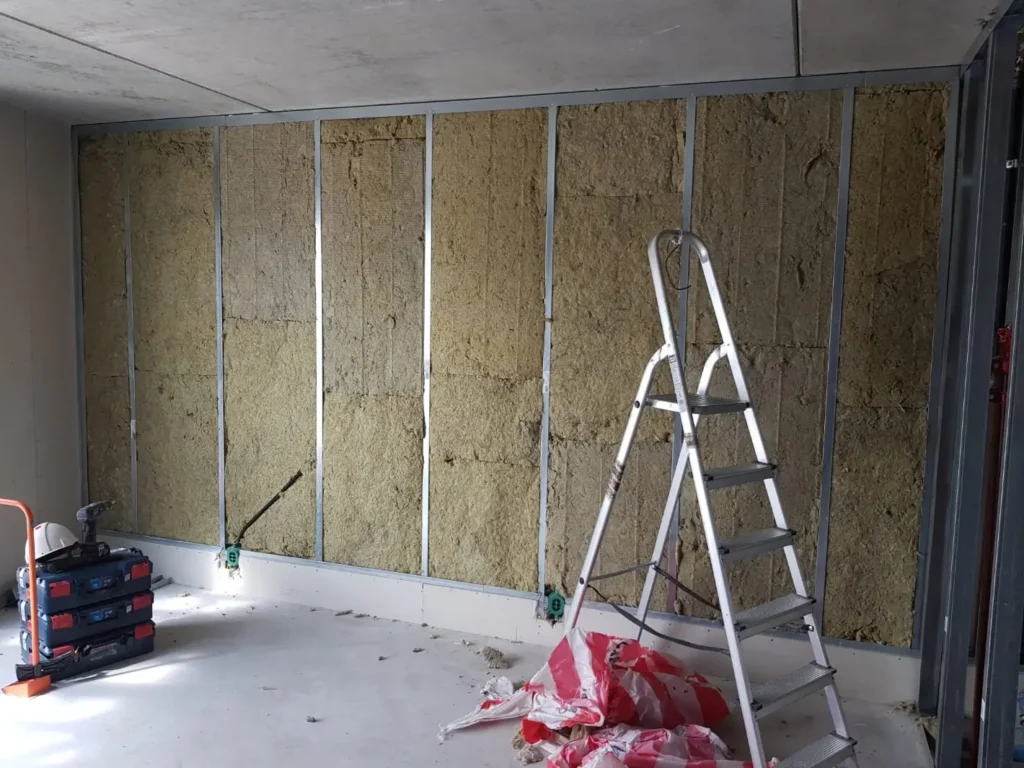
Step 2: Framing the Structure
Most gips installations are mounted onto a support frame made from:
- Metal studs (most common in Oslo commercial builds)
- Wood (sometimes used in homes or for budget renovations)
This framing defines wall thickness, ceiling drops, or design features like TV niches.
We ensure:
- Perfect vertical/horizontal alignment
- Proper spacing (typically 30 or 60 cm)
- Clearances for plumbing, HVAC, or electrical
Comparison: Metal vs Wood Studs
| Feature | Metal Stud | Wood Stud |
| Fire resistance | ✅ High | ❌ Low |
| Straightness | ✅ Precise | ⚠ Can warp |
| Ideal use | Offices, clean finishes | Homes, budget-friendly |
“Metal stud framing is incredibly precise – it’s faster, straighter, and doesn’t warp like wood. It’s our go-to for long-term reliability.” – Andronor
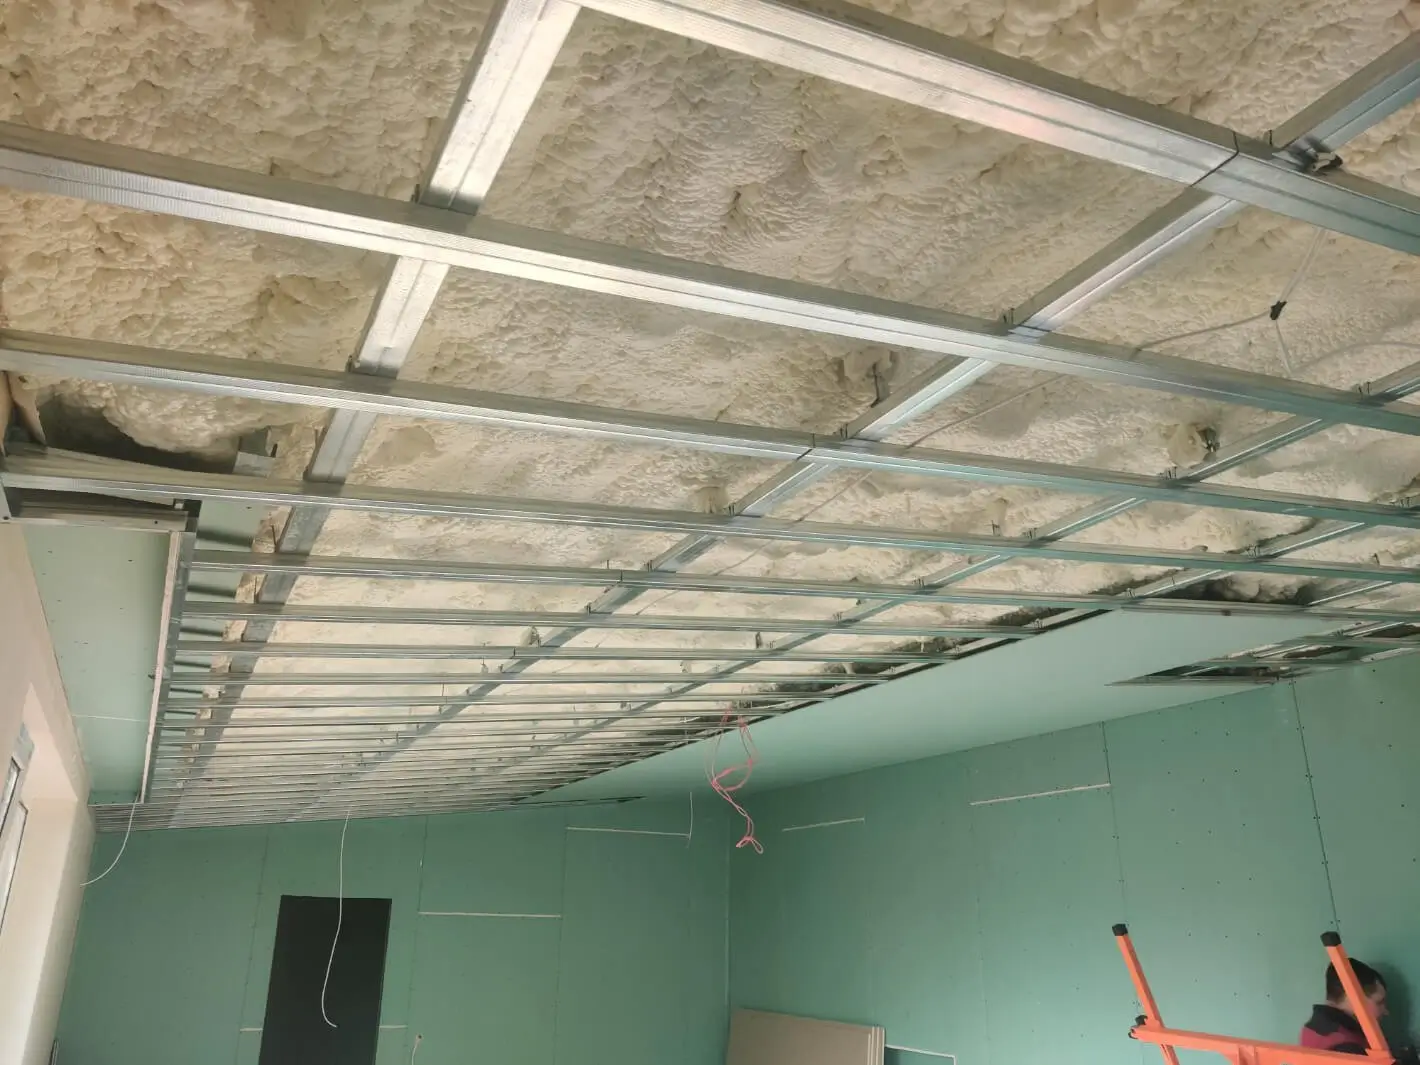
Step 3: Installing Insulation (Where Needed)
Before the gips goes up, we fit insulation inside the wall or ceiling cavity:
- Acoustic insulation (offices, bedrooms, apartment walls)
- Thermal insulation (outer walls, colder zones)
- Fire-rated wool or board (stairwells, equipment rooms)
Recommended Materials:
- Rockwool Flexi A-plate: excellent sound barrier
- Glava Proff 34: high thermal efficiency
- And other.
Want a quieter space? Ask us about combining acoustic insulation with dual gips boards – ideal for meeting rooms and bedrooms.
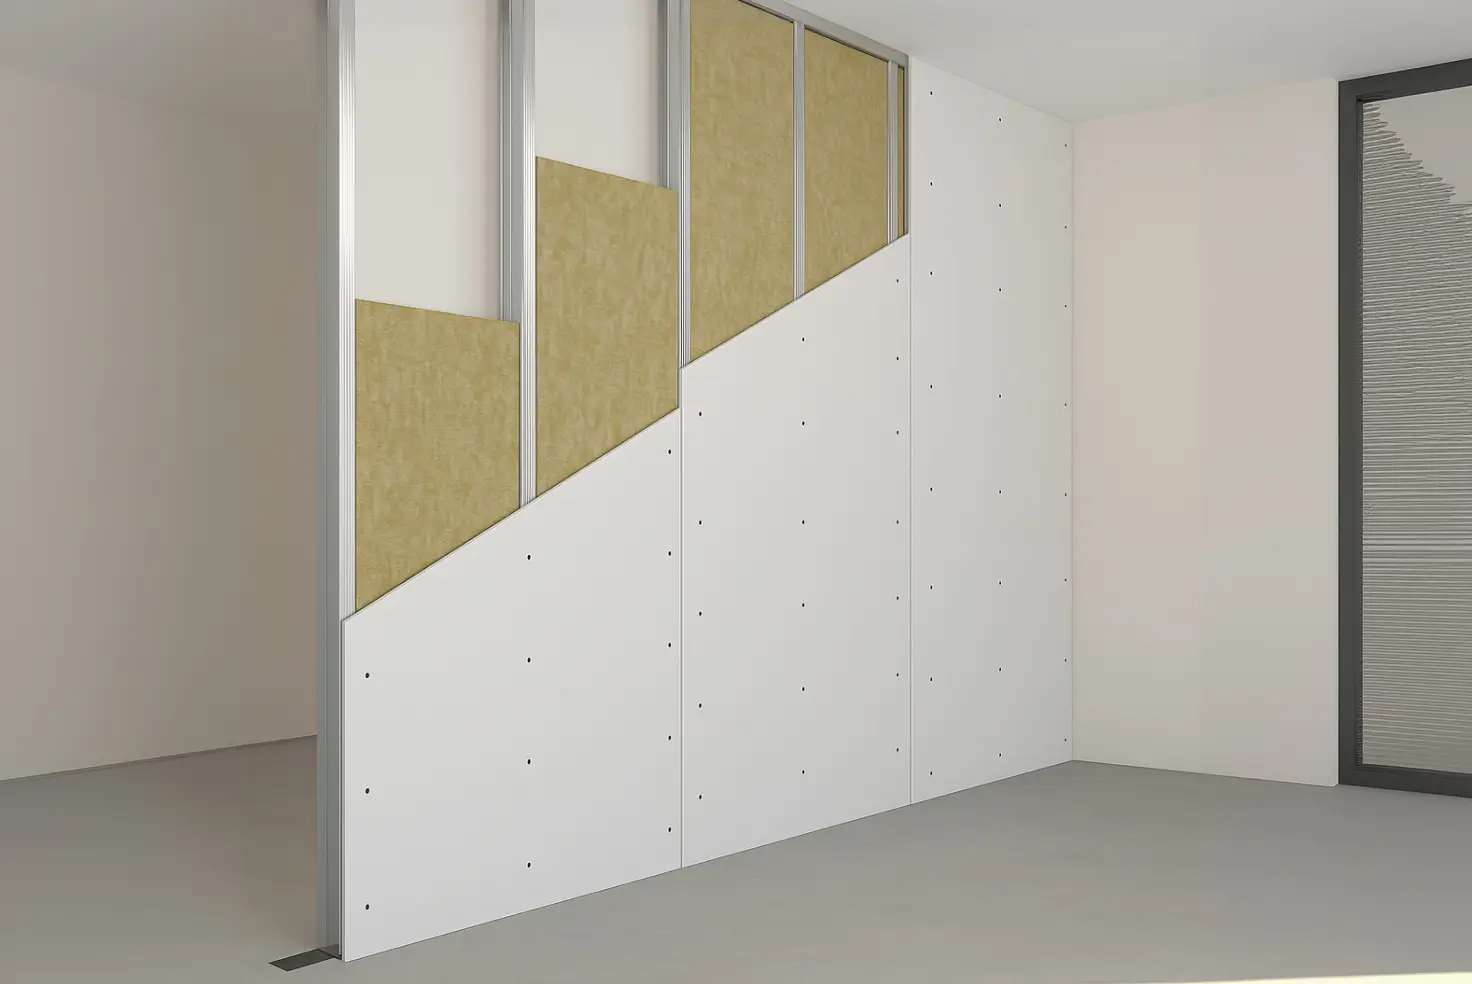
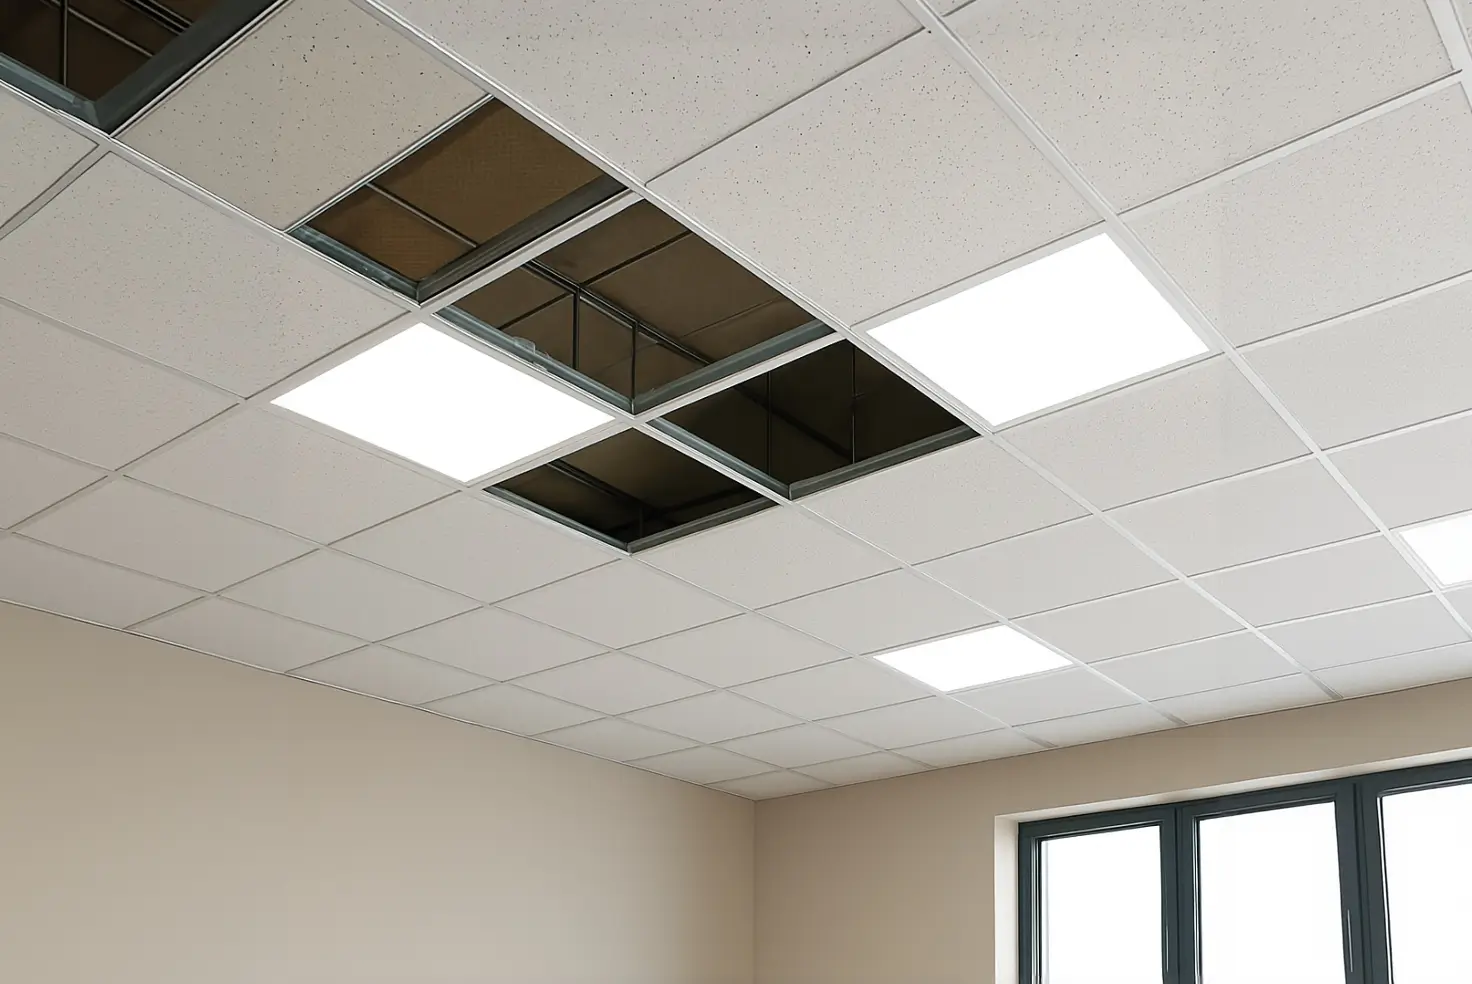
Step 4: Gips Board Mounting
This is the most visible transformation stage:
- Boards are cut to size and screwed into the frame
- Openings made for sockets, fixtures, and ventilation
- Ceilings are mounted first, then walls
Gips Types We Use:
- Standard white: general use
- Moisture-resistant green: bathrooms, kitchens
- Fire-rated red/pink: safety zones
- Reinforced: for walls with mounted loads (e.g. TVs, cabinets)
In heavy-load areas, we reinforce the framing or add backing plates for strength and longevity.
Step 5: Perimeter Sealing
For phased construction or rough-in projects, we apply joint sealing to:
- Prevent air or moisture leakage
- Maintain soundproofing performance
- Prepare walls for sparkling
We use acoustic sealant, depending on wall type. No sanding or sparkling is done at this stage – sealing is about protecting and prepping, not aesthetics.
How Long Does a Gips Project Take?
| Type of Space | Estimated Time |
| Small Bedroom | 2–3 days (with insulation) |
| Living Room or Studio | 3–5 days |
| Full Office Floor | 1–2 weeks |
Include extra time for demolition, wiring, or flooring if scheduled in parallel.
Is It Dusty? What About Disruption?
We pride ourselves on clean, respectful worksites. Still, here’s what to expect:
- Noise from screwdrivers, saws, and stud framing
- Dust during insulation cutting or board shaping
- Protection for furniture and floors
- Daily cleanup and final tidy at project end
We also use vacuum-assisted tools and barrier curtains to isolate dust in occupied homes.
What You Should Do Before We Start
Help us work efficiently by:
- Clearing as much of the room as possible
- Marking desired outlets, switches, or wall-mounted items
- Uploading blueprints or drawings via our Quote Request Form
- Informing neighbors about brief noise periods
Final Word: The Hidden Power of a Good Gips Job
You might not see the frame or insulation once the room is painted – but it’s the part that makes everything else work. At Andronor, we bring over a decade of experience and an eye for precision that ensures your walls are:
- Flat, flush, and ready for finish
- Built with long-term durability
- Quiet, insulated, and structurally sound
If you want it done right – even the parts you won’t see – we’re ready to help.